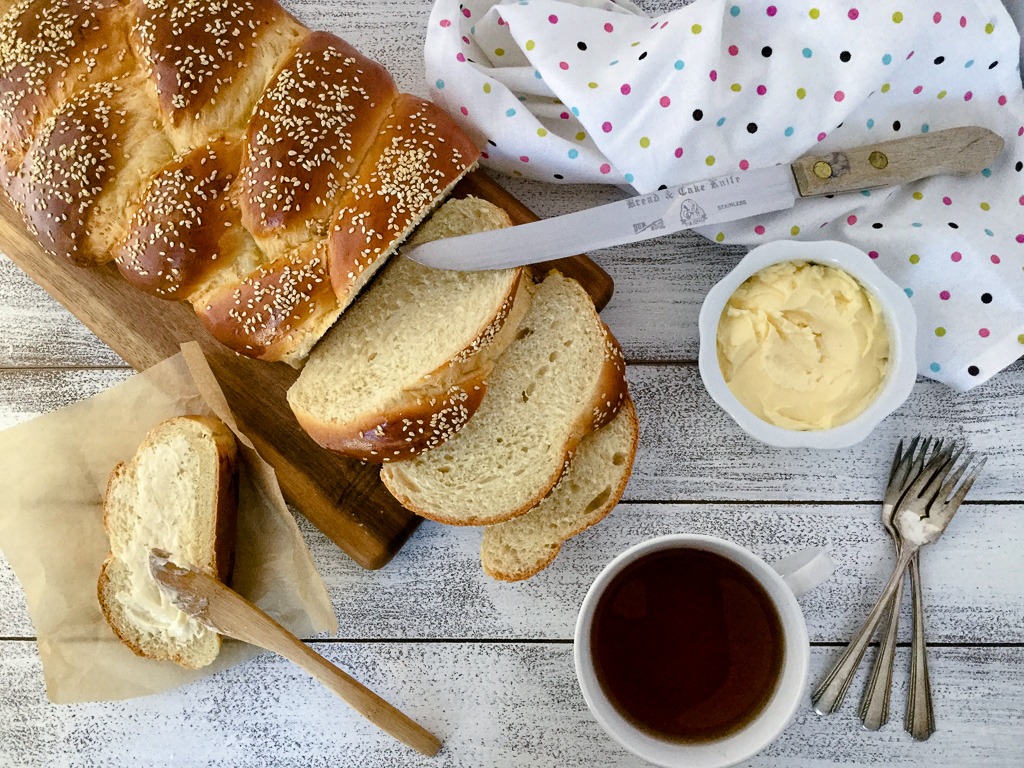
Growing up in an Italian family, we would always eat traditional sweet bread at Easter called pane di pasqua. Every spring, we wait in anticipation for my mother to make this braided bread.
** I received free flour products from Arva Flour Mill for testing and review. All opinions given are entirely my own and I would not recommend their products if I did not love them. **
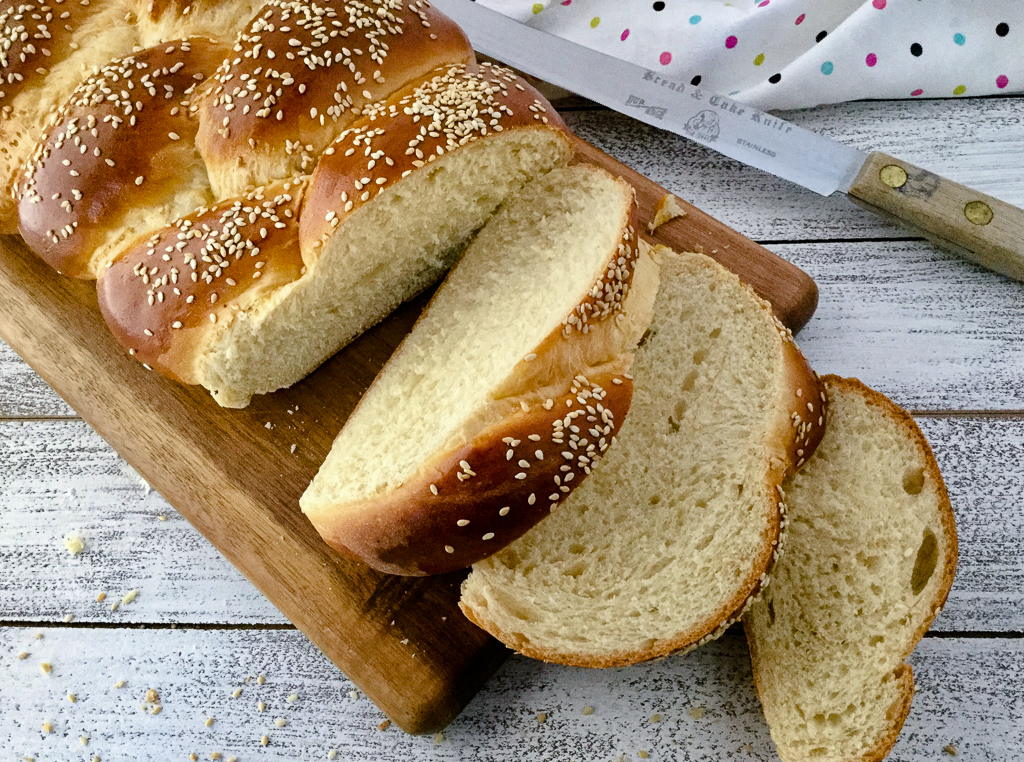
Italian Easter Sweet Bread is a pale yellow, slightly sweet and fluffy loaf of bread with a shiny golden egg-washed crust sprinkled with sesame seeds. It’s wonderful served for breakfast lightly toasted and topped with butter and apricot fruit preserves. It’s my favourite breakfast at this time of the year.
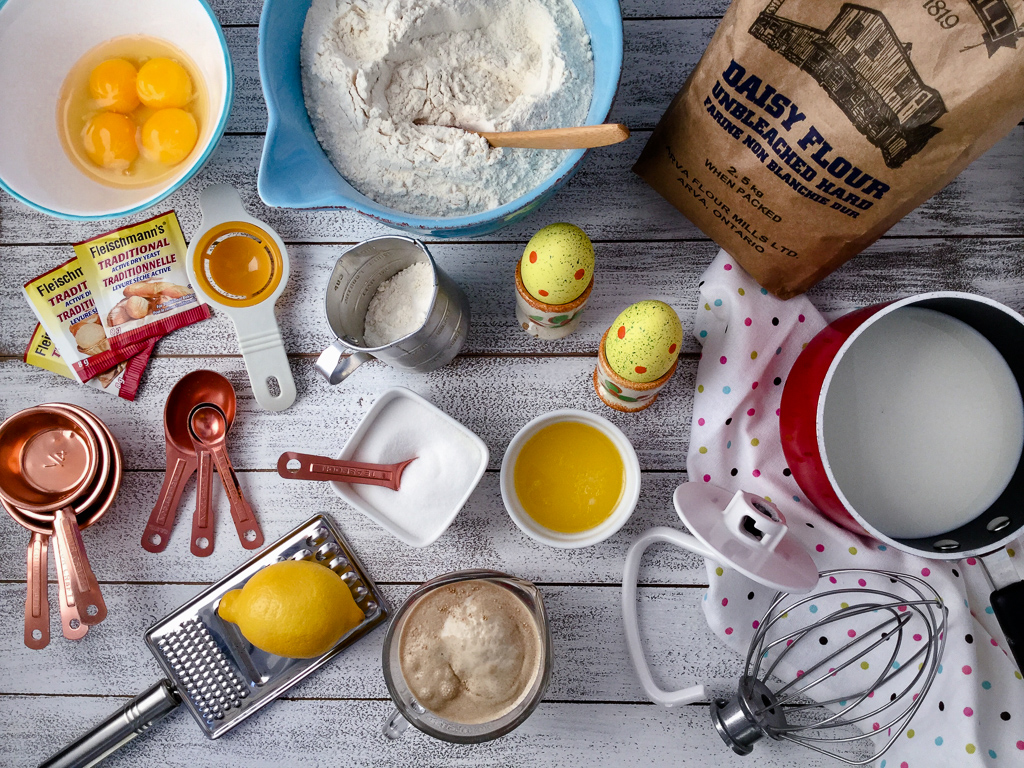
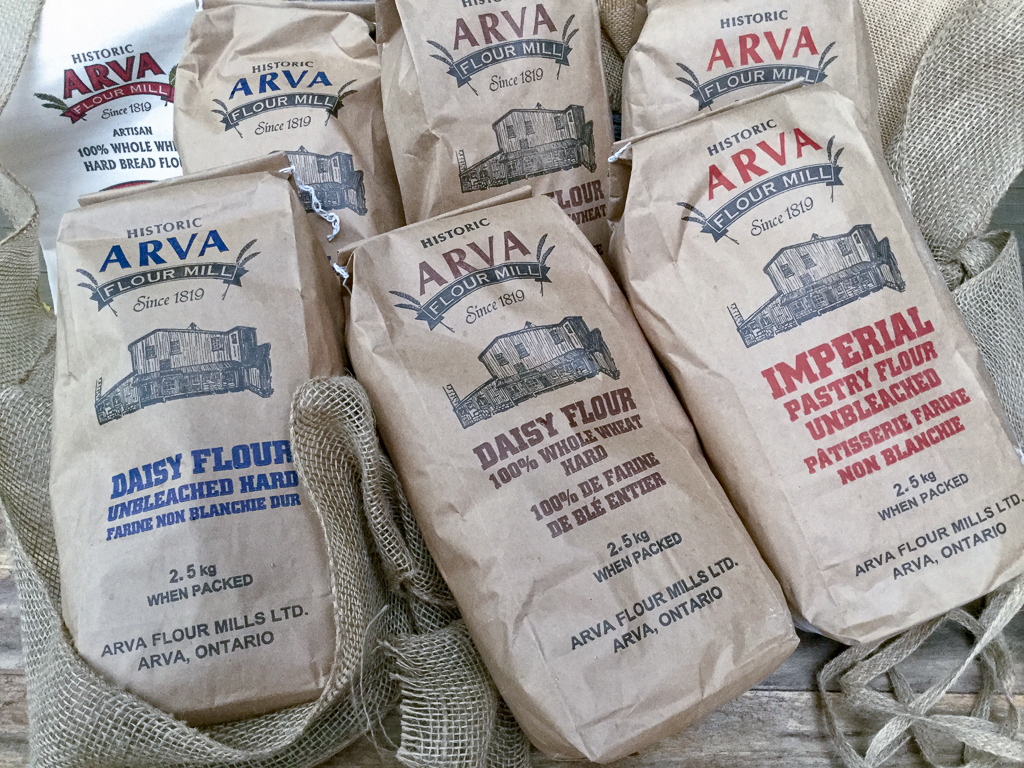
Lately, I’ve been experimenting with Arva Flour Mill’s flour. Since my mother is an expert baker, I brought some to her house for a bake-off day to test the different flours. We baked all kinds of wonderful sweet and savoury recipes. The best part of the day was when she passed on her recipe (and her skills) for making this Italian Easter Sweet Bread. I was in heaven!
It’s Easter now, and here I am in my sunny kitchen making my mother’s family recipe. I’m promising myself that I’ll make it again and again throughout the year and not just at Easter time! I’m so happy I’ve learned how to make this bread and have recorded the recipe properly. Now I can carry on the family legacy of our Easter sweet bread.
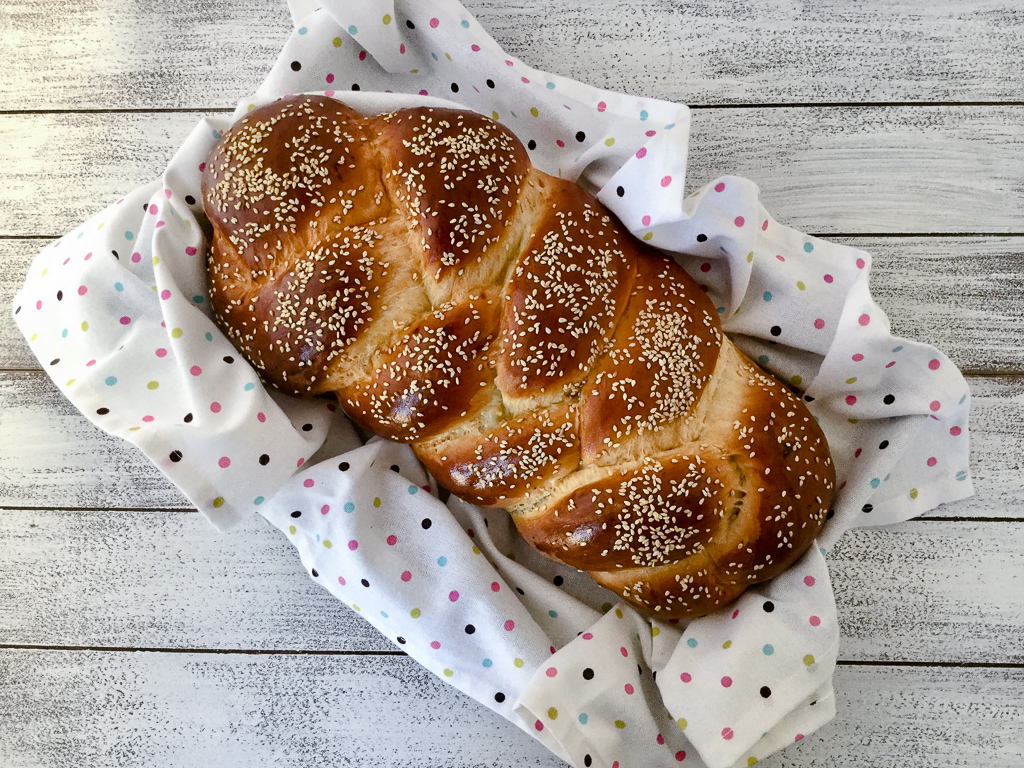
It’s a bit challenging for my mother to pass on a recipe from her handwritten notes on scrap pieces of paper. When it comes to bread, her famous saying is farina quanto basta which literally means “enough flour as you need”.
I ask her to tell me is it 6 cups or 7 cups? Typically her answer is “sometimes I use 6 cups and sometimes I use 7 cups.” We eventually sorted it out and this recipe indicates 6 cups up to 6 ½ cups of flour, as needed. You have to “feel” the dough and know if you need to add a little more flour or not.
The recipe calls for the yeast to be dissolved in lukewarm water which is 100 – 110 degrees F and not hotter or it will kill the yeast. Scalded milk is an ingredient in the recipe. This means that milk is brought nearly to a boil (and not to a boil) in a saucepan over medium heat then cooled down slightly. You want to keep it from boiling so it doesn’t form a skin and cook the eggs in the batter. The purpose of scalding milk is to help infuse flavour and sweetness in the bread and it also helps dissolve the sugar and keeps the butter melted.
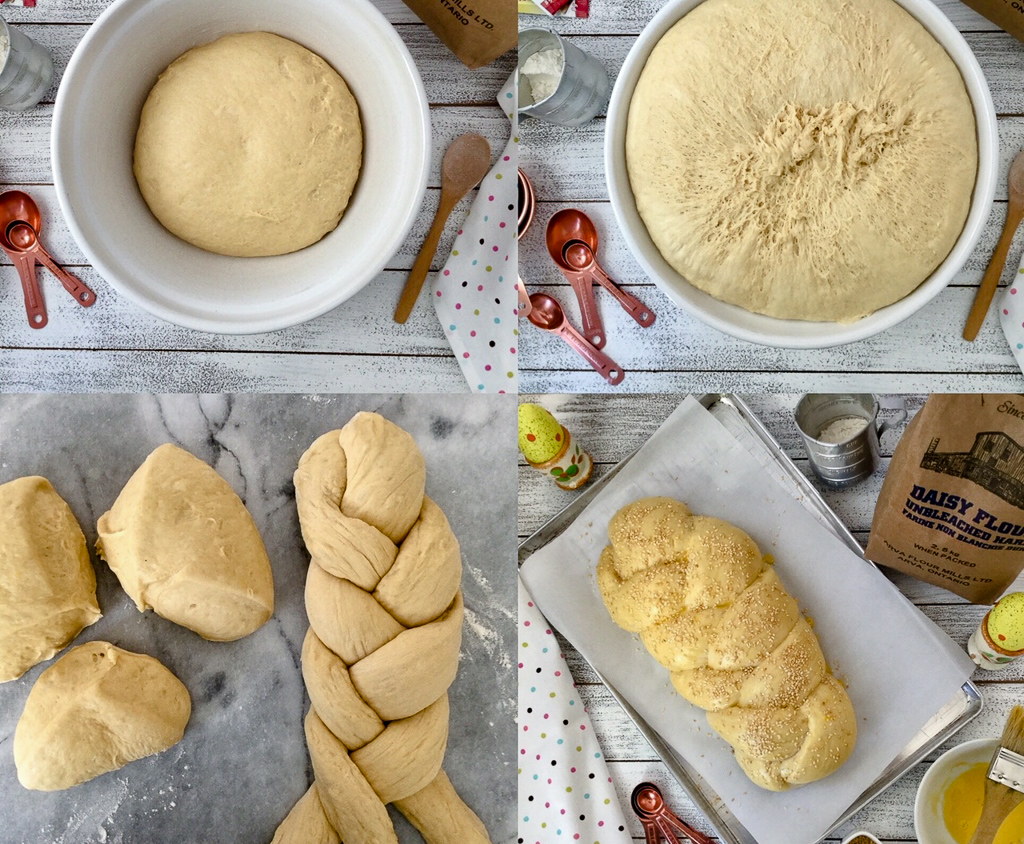
This bread is a traditional yeast bread and needs two risings. The first rising is after the dough is blended and kneaded (about 1½ to 2 hours) and the second rising is after the braided loaves are formed and placed on the baking sheets (about 1 hour).
My mother and I were impressed with the results of all the baked goods we made using Arva Flour Mill’s flour. The Daisy Unbleached Hard Flour, in particular, is fabulous for yeast bread. The protein content in this flour ranges from 11% to 12% creating a lot of gluten which is what forms the dense chewy texture of bread. Arva flour reminds my mother of the flour she used for her baking and bread making back in Italy and she loves it!
Arva flours are perfect to bake with when you want to know and care what’s in your food. All natural, no preservatives or chemicals added, non-GMO and using locally sourced grain. The flour is milled in a historical family-run water powered commercial mill just outside of London, Ontario operating since 1819! It’s packaged in original style paper bags.
Italian Easter Sweet Bread
Ingredients
- 2 packages traditional active dry yeast 8g each
- 1 cup lukewarm water 100 – 110 degrees F
- 2 teaspoons granulated sugar
- 1 cup scalded milk see directions
- ¼ cup butter melted and cooled slightly
- ¾ cup granulated sugar
- 1 teaspoon salt
- 6 up to 6 ½ cups Arva Daisy Unbleached Hard Flour
- 2 eggs at room temperature
- 2 egg yolks at room temperature
- 1 teaspoon grated lemon rind
Egg Wash & Garnish
- 1 egg yolk
- 1 tablespoon milk
- 1 tablespoon sesame seeds
Instructions
-
Fill a non-metal cup with 1 cup lukewarm water (temperature of 100 – 110 degrees F – use a thermometer). Sprinkle in yeast and 2 teaspoons sugar, without stirring. Let stand for 10 minutes then stir.
-
Meanwhile, scald the milk. Place milk in a heavy-bottomed saucepan over medium high heat. Slowly heat the milk while stirring constantly just until it just starts to come to light boil. Immediately remove it from the heat (do not let it come to a full boil). Let the milk sit for 2 – 4 minutes to cool down slightly.
-
Into the bowl of a stand mixer with the whisk attachment, add scalded milk, melted butter, ¾ cup sugar and salt; beat on medium speed. Add softened yeast and beat again on medium speed to combine.
-
Gradually add about half of the flour and beat on medium speed to make a thick batter. Add 2 eggs, 2 egg yolks and lemon rind. Beat at medium speed to combine.
-
Switch to a dough hook. Gradually add about ¾’s of the remaining flour, reserving the rest, and mix on low speed for 1 minute until combined, while scraping down the sides until a soft dough forms. If the dough is still wet and sticky, add some of the remaining flour, 1 tablespoon at a time, as needed. The dough should be shaggy and damp.
-
Transfer dough to a floured work surface. The dough will seem sticky at first, but knead it tenderly for 5 minutes using the palms of your hands turning outside edge of the dough into the centre over and over until it becomes a smooth ball.
-
Place the dough in a lightly greased large bowl and turn dough over to grease all sides. Cover with plastic wrap that has been lightly greased and a kitchen towel. Let rise in a warm draft free place until doubled in size – about 1 ½ - 2 hours. This is the first rising.
-
Prepare two medium baking sheets by lining with parchment paper.
-
Punch down the dough in the bowl then transfer it to a lightly floured work surface. Divide dough into two equal portions for two loaves. Knead each portion lightly for 1 minute.
-
Now divide each of the two portions into three equal pieces (for a total of six pieces). Working with three pieces at a time, roll each piece into a long rope about 15” long. Arrange the three ropes side-by-side and tightly braid the ropes and tuck the ends under. Transfer the loaf to a prepared baking sheet. Repeat this process with the remaining three pieces of dough to make the second loaf.
-
Cover the loaves with a kitchen towel and let rise in a warm draft free place until doubled in size, about 1 hour. This is the second rising.
-
Meanwhile, preheat the oven to 350 degrees F.
-
In a small bowl whisk one egg yolk and 1 tablespoon milk. Brush the top and sides of the loaf with egg wash. Sprinkle with sesame seeds.
-
Bake for 30 – 35 minutes until lightly golden and the loaf sounds hollow when tapped on the bottom. Let stand for 5 minutes before removing to a rack to cool.

Instead of greasing the plastic wrap, how about using and EVO Spray bottle with a spritz of olive oil or Canola. Evo spray bottles give a 1/4 teaspoon controlled spray with each squeeze. Just new to baking bread with my wife’s anniversary gift last I gave her last October!
Look forward to make a trip over from Williamsville, NY to buy some Great Royal Canadian Milled Arva! Can’t wait to bring several large bags home!
Looking for some recipes to bake European Crusty Breads Is a baking stone the best way to bake vs using tradition trays & parchment. I have noticed the bottom of my loafs tend to be a tad thicker & more crusted with the top element over cooking the top. We have a Jenn-Air and I think the stone on the lowest rack slot will compensate for both the bottom & top issues. Look forward to your expertise!
oCt. I gave her a Kitchen Aid Pro 600 & I’mm doing all the baking for her!!!
Also
Arthur, thank you for your comment. I’m so happy you’re doing on the baking – I suppose that’s the best gift you can give your wife! For crusty artisan type breads (in a round shape), I find a deep cast iron Dutch oven lined with parchment paper works well. But then I’ve also had success with free form loaf shapes on a baking pan lined with parchment paper. Each oven is different. I use a gas oven by Thermador. Experimenting and recording your results is the best way to know what works for you with your oven. We are very fortunate to have Arva flour in Canada and having it so accessible for us here. I hope you have success with your trip and enjoy picking up a good stash of flour.
This is it!
I lost my grandmothers recipe several years ago and have been searching for it online since then,but nothing came close.
Low and behold here it is! The only difference is the lemon rind and sesame seeds (she skipped those).
This eggy sweet bread brings back so many memories. After she passed away (when I was only 6 years old) there was no one in my family making easter bread. I found her recipe stuck in one of my mom’s cookbooks many years later.My dad (grandma’s son) was so happy I restarted this tradition.
Told my family that I have finally found the recipe again,and they have actually placed “orders” for extra loaves so they can take them home with them.
Many thanks again!
Lisa, I am very touched with your comment. Family traditions are so important and special. I’m so happy I have been able to contribute to the revival of your family tradition by giving you this sweet bread recipe. I too get “orders” for extra loaves from my family members all the time! I hope you’ll enjoy this recipe for many years to come.
Love your story about your mom and her recipes.. I have several of my grandmothers hand written recipes with comments like ‘add enough flour to make a soft dough’ ‘bake in a moderate oven until done’ ‘pinch of this or that’, etc. very proud that my girls are still using these recipes! (I may have interpreted a few phrases for them!
Carol, Thank you for reading my story and appreciating the point of it. Our mothers and grandmothers are and/or where great bakers with such a gift of knowing when “just enough flour as needed” was enough. And so amazing that everything they baked always turned out consistently perfect! Wishing you many happy baking days with your family recipes. Rita
Carol, Thank you for reading my story and appreciating the point of it. Our mothers and grandmothers are and/or where great bakers with such a gift of knowing when “just enough flour as needed” was enough. And so amazing that everything they baked always turned out consistently perfect! Wishing you many happy baking days with your family recipes. Rita